Responding to the feedback you received, you should develop and produce a range of responses relating to a minimum of two of the following areas of design:
Publishing & Editorial
Information & Way-finding
Branding & Identity
Product & Packaging
Retail & Promotion
Your work should practically and conceptually explore the possible products, ranges and methods of distribution that you have investigated and analysed in your primary and secondary research. Your work should also reflect your own creative ambitions within graphic design as well as being focused towards your chosen audience.
Background / Considerations
You should consider working across a broad range of media and formats that are appropriate to your subject and your development as a graphic designer. Your response should explore the relationship between the product, range and potential methods of distribution, whilst also analysing context, audience and tone of voice.
You need to ensure that you analyse and critically evaluate the impact of social, cultural, technological and/or ethical concerns with regards to your design solutions. Additionally, you are required to demonstrate your understanding of the limitations and the potential of technologies and processes used in the production of design for 2d, 3d and 4d distribution.
Your content should explore and apply a range of appropriate practical and conceptual approaches as well as being technically competent and contextually appropriate. Your resolutions should demonstrate an informed understanding of issues relating to media, communication, audience and function.
Re-Written BRIEF

Today we had a workshop to refine the original brief I wrote in the last studio session. I have refined my thinking and now have a structure to work towards.


Logo Development


I tried making the logo out of type with the E shaped as a vinyl. I definitely want to use the type for the logo instead of having just a icon to make it more personal.


I tried a few variations incorporating the vinyl illustration but felt it wasn't working and looked tacky, I want it to look retro to suit the style of music that would be played.


I tried using shapes to make the letterforms and layered them up to form three lines. I think this striped affect better communicates the retro style type that was used on old vinyl labels and posters.


Using the same shapes I created the rest of the letters. I had to experiment with the X heights to get it to look right and make it legible.


After sleeping on it, I felt the logo needed to be stripped back to two colours to better work on the stock when printed.


Hand Stamp Design

I have ordered a custom self inking hand stamp. This would be used to stamp the customers hands on the way in to the venue.
Coasters

I am going to cut the these colours out of vinyl and stick them to some rubber coasters that I have that look like vinyl records. I have used the same design as the stamp for constancy.
Beer Bottles
I am going to use the vinyl to make some in-house beer bottle labels.

At first I tried sing a more traditional shape of label but I felt this wouldn't be consistent with the identity so I decided not to use this.

Next I tried using the same design as the coasters. I think this would work but I don't want it to become predictable so I tried something different.

I simplified the design and used the lines to link it to the logo and have incorporated the F into the design. This can now be applied across a range of media. I will sort out the dimensions once I have soured a bottle, I want to use a brown glass bottle as it better suits the retro theme.

I have changed the colour of the orange because the vinyl was a different colour and I wanted them to to be consistent with the printed material.


I have separated the colours so the vinyl cutter can cut each section on the right vinyl. I will have to join them together when I stick them onto the bottle.
CD Wallet/ Poster

I have made a template of the cd wallet. The design uses an A4 sheet so I will only need to fold the paper to construct the wallet.
-Mock-up


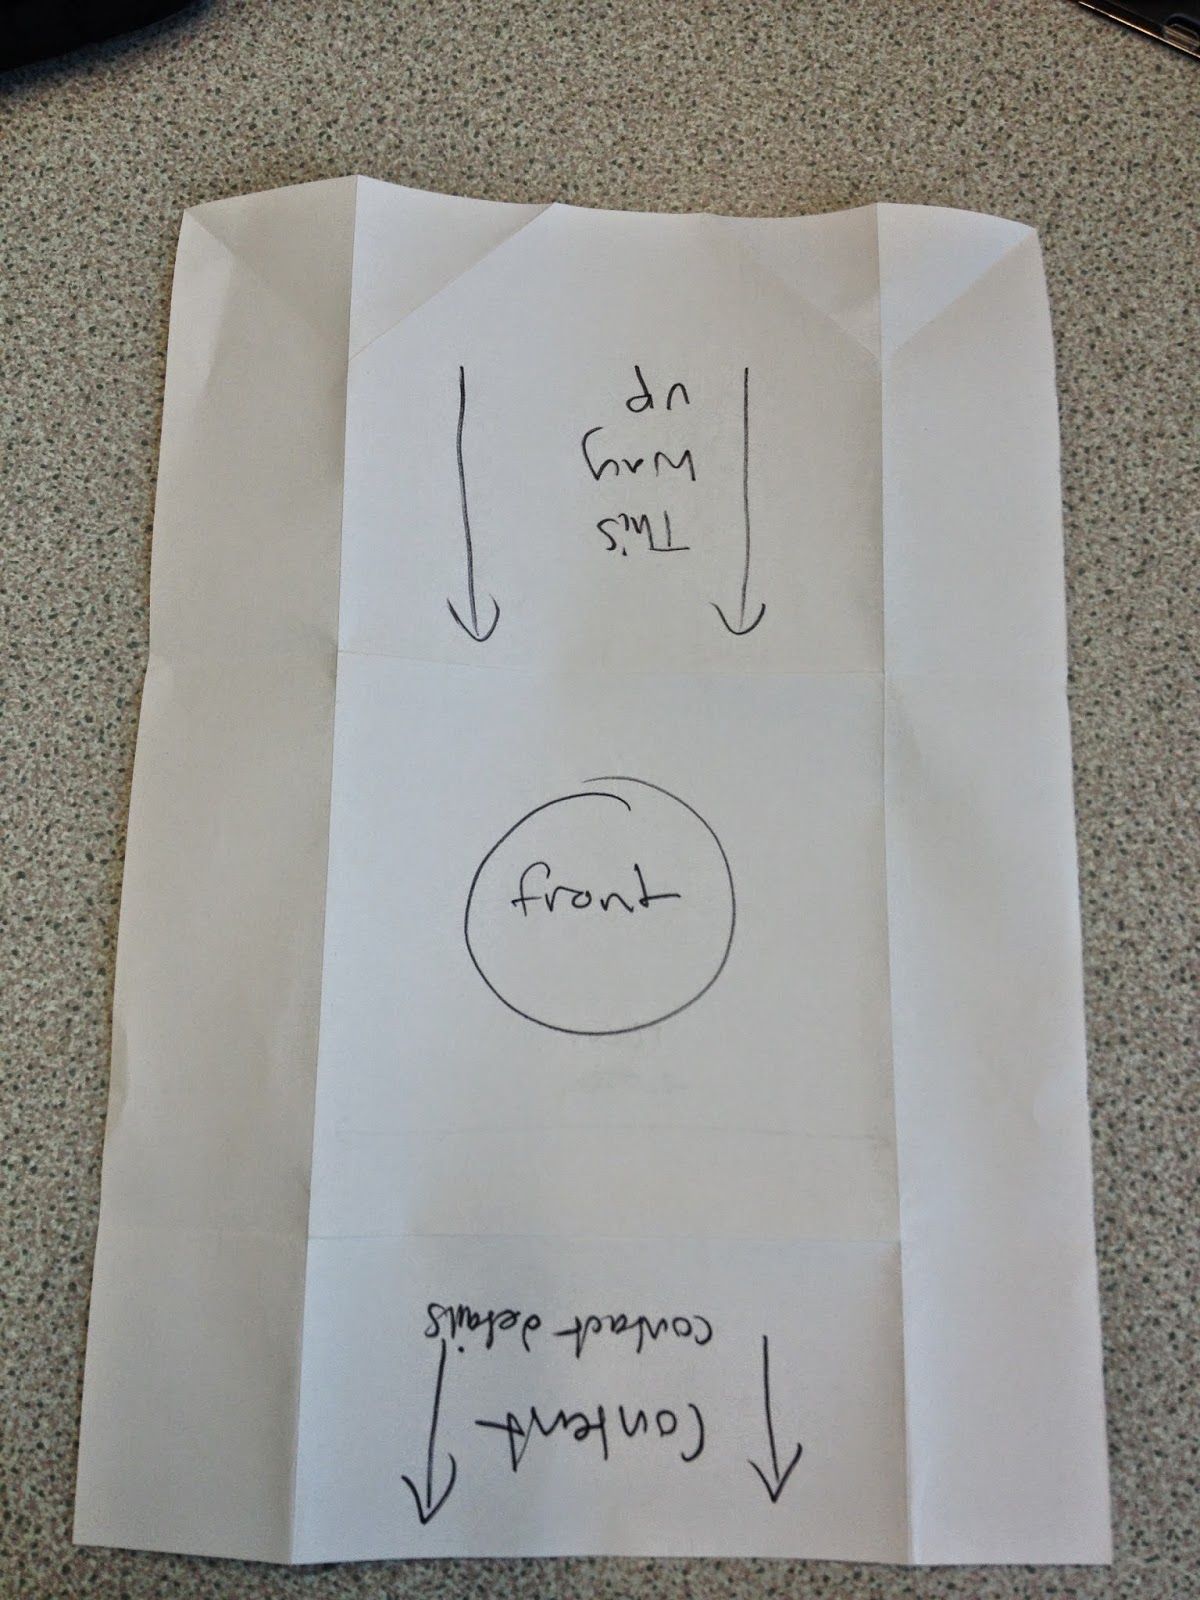
I wanted to test out the net just to make sure it worked before I started creating designs.
Design 1

I am going to use two colours plus the stock to keep the branding consistent with impact.

I have included a web, Facebook and Twitter address to direct the audience to find out more information such as what music is played and the events that take place. I will have to design a the web material later.

I have included volume one because I hope to create a few variations to make a set.


I have design it so the front and back will be the stock colour and the sections of colour will make it easier to know where to fold the design.

I am going to make it so the wallet can be opened out to make a poster. The audience can collect the cds and have a posters series for customer loyalty.


As this is the first one in the collection I have used the subheading 'Long live the godfather of house' to make it clear it associated with Frankie Knuckles.

Front/Back

I am pleased with the first design, i will keep this theme running throughout by using the same colours.
Design 2

I am using the logo at an angle on this one to link to to the first design. I will use similar characteristics from the previous design to link them all together so they work as a set.


I experimented with different layouts by using the grid to fill in different areas of block colour.


For the poster side I have separated the logo into the two colour sections. This was inspired from the jazz designs I looked at in my research.

Front/Back

I have kept the inside more open as the front is quite colour heavy to balance it out.
Design 3


I have used the lines in the logo to create the pattern design. This should line up nicely when the design is folded.

I have used the black triangles at the top so They will be showing when its folded.


I have kept the inside similar to the front on this one because its in the middle of the range so I wanted it to be fairly neutral. I have reflected the type to create a balanced, open layout.

I tried adding a twist filter to the lines but I felt it didn't need it so I left it how it was.

Front/Back

Design 4


I tried a few layouts using circles on the front of the wallet with different blending modes. I wasn't feeling this design so I started again.


I tried using the logo in reverse similar to the last design, I think this works much better and continues the set better.


I wanted to use the circles in the design so I divided them in half to create this pattern. I think this fits much better and suits the layout more.


I have added a few extra details to finish the design. The black balances out he design and the circles have given me theme to work with on the other side.


I tried layering the logo to mimic the illustration but I felt the design the needed to be open for more impact.


I added some of the shapes free floating to finish the design to break up the structure and rigid straight lines.
Front/Back

Design 5

As this will be the last design in the series I am going to keep it similar to the first design just stripped back more. I have inverted the colours to further support this.


I have made this design this really minimal compared to the other just signify its the last in the range plus to communicate the idea of the legacy of Frankie and the purity of his influence on the music.

I have used a quote from an interview with Frankie that I feel rounds up the series nicely and suits the purpose to promote the venue.


I played about with hierarchy with the colours and spacing of the text. I felt it worked best with the type in black with the orange to support.


I have added the orange lines to finish the design to balance out the black type.
Front/Back

Promotional Posters
I am going to create some posters that can be used as promotion. I would like them to be on the walls in the venue as well as being used on billboards etc....
-Poster 1

To make these more personal I have used photos of Frankie.


I have used shapes to create an arrangement that will be overlaid with the orange to reveal the image below.


I experimented with different blending modes to best reveal the image and added the lines to the top and bottom to link them to the cd wallets.

-Poster2

To keep them consistent I will use shapes again over the top of an image.

The boarders have been reversed to show they are a set. I was going to make a range but a I feel the two work best with alternation of colours.


I changed the blending mode of the photo to give it a washout out retro look.


I experimented with different brush effects to the outline of the shapes. I think this works well and gives it more of a human feel with will be good to break up the clinical side of the cd wallets.

This meant I had to adjust the first poster because they didn't look right together. To do this i changed the photos blending mode and adding strokes the the outlines of the shapes.

Final Posters

Event Tickets
I am going to design some event tickets to go with the printed materials. These will be used for specific nights that have headlining DJs playing.

I have made a simple grid to divide the tickets. I am going to print them onto A4 and perforate them after so they can be ripped off easily.

I have used the same logo as the coasters and stamp for consistency.

The information I need to include is the date, quantity, price and ID reminder. This is the standard information supplied on tickets usually.


I have used the black section of the logo to be featured on the tickets. I am hoping to print the designs onto orange paper so all the content will be black ink.


I tried a few layout variations until I was happy then girded the text to make sure everything lined up.

I have added the ticket number and sound system information because Funktion-one speakers are the best on the market so this is a selling point to rue music fans.

Final Tickets

I will be printed to sheets of tickets so I can get some nice photos showing how they tear off...
Zine / Editorial
I am going to create a little publication that would be a monthly issue with information about DJs, producers and tunes. This would be available to the customers in the venue and local record stores that sell vinyl records.
-Front Page

I have made the dimension:
w 10cm
h 18cm
This means I can print the double page spreads on A4 to keep cost down as its meant to be a zine.


I have entitled this addition 'best of the finest' it will feature five artists that I really like and feel would be appropriate styles of music that would be played at the venue.
-Larry Heard

The heading will be in the same font but I have used the same font that is on the tickets for the body copy as I feel it suits the aesthetic.


I found an orange picture of Larry that I used underneath the text to give the page some character and break up the space.
-Moodymann

I liked how the Larry heard image has rough edges so i have used the same photo behind the artist image to create the same effect. I will do this on all the images so they are consistent throughout, plus I think the aesthetic suits the content.

I had to enlarge the image and change the position of the heading so it followed the grid.
-Andres


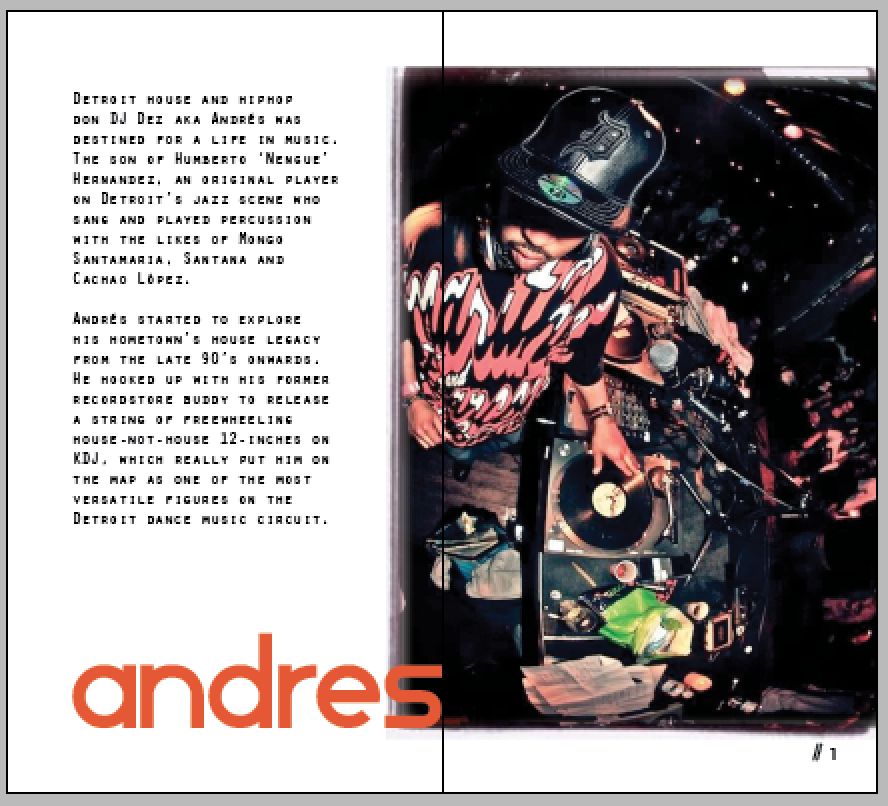
Because the heading was a lot smaller it meant I could have the image much bigger on this page, i have made it bleed off the page of variety.
-Black Jazz Consortium


The heading spanned two lines so I had to make the first line a smaller point size to compensate for the body copy column. I changed the top line to black to make it more visually engaging.
-Theo Parrish


This page had the most body copy so separated the heading as before so it will balance out the pages as a whole.
Track Listing Page
I am going to include a page at the back of the book with some iconic Chicago House tracks that the viewer can listen to. This creates a nice balance between the old classics and the newer artists or existing artists featured in the first section of the book.

I wanted this page to be different to the others so I have spread the heading across the top and bottom so the content can go in the middle section.


The left page has the track names and the right, the artist that composed them.


The page looked a little empty so I used the lines that feature across the branding in correspondence with the colour and heading.


Just to make it clearer I have changed the colours of the numbers and composers names to help break up the text.
Intro Page

I left the intro page till last so I had all the content.


I have written an introduction on the left page and the right is quote taken from one of the featuring artists.


I felt the page needed and image for the background to support the quote and reflect the ideas of music being a universal language.
Final Publication
Event Poster Design
The other posters were more for promotional purposes so I am going to create a design for a fictional night to work along side the zine.


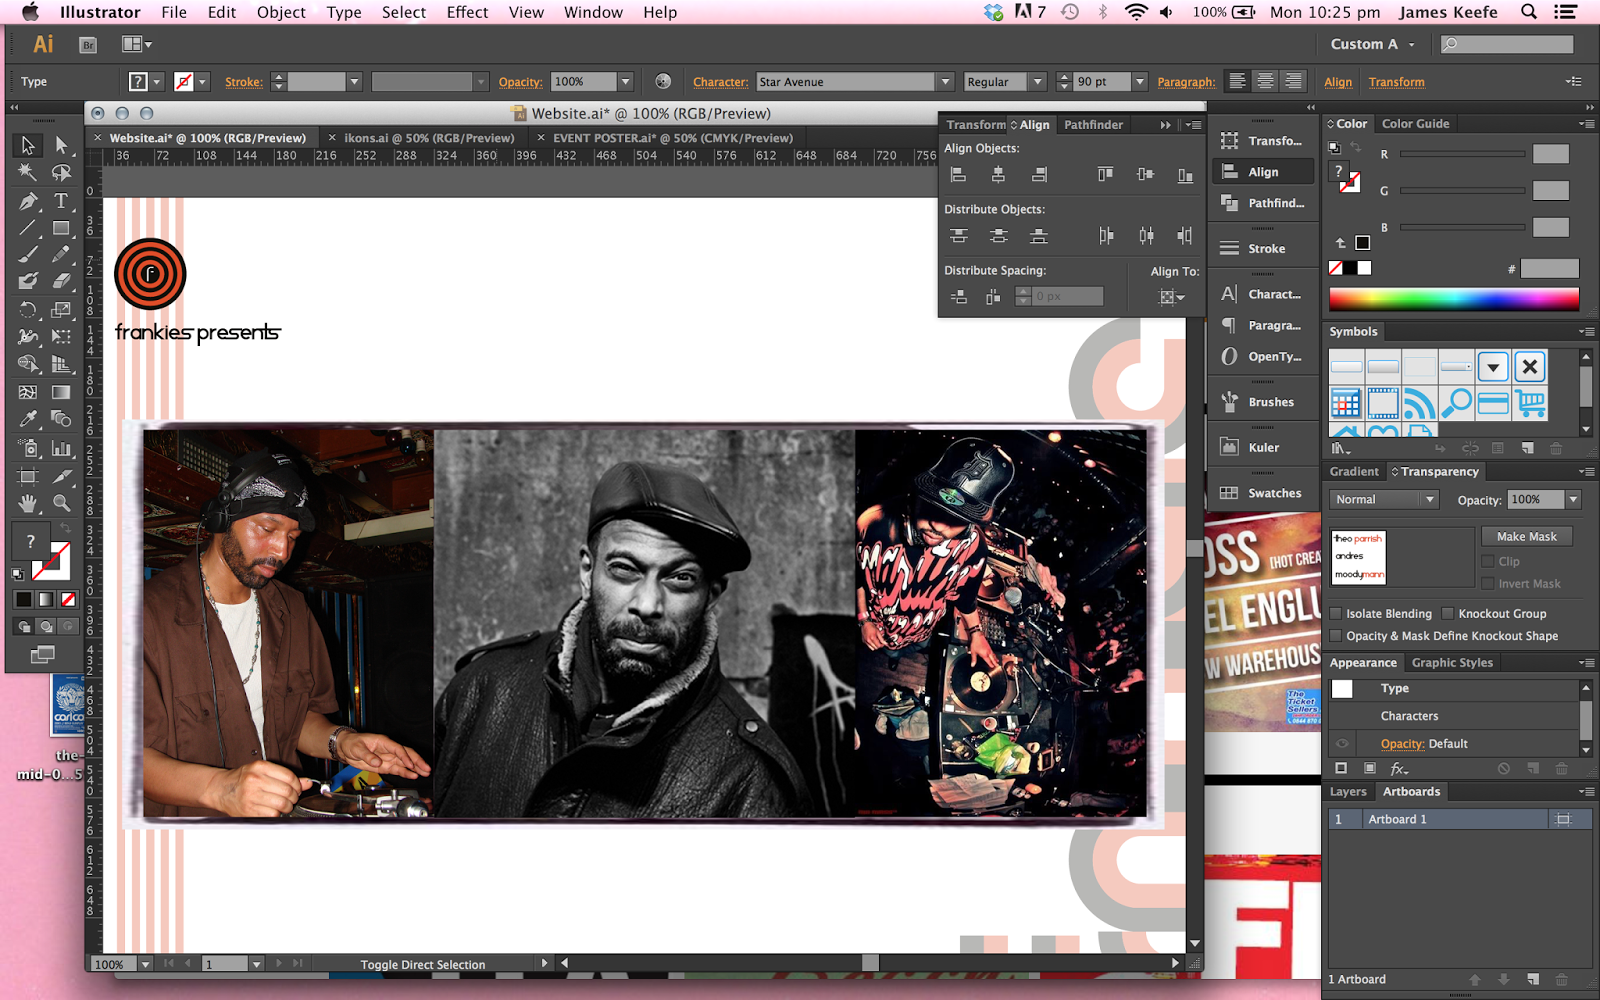
I have used the three artists from the Zine that I like the most to feature in the night. I have aligned them with the letters in the logo so the layout is structured and balanced. I decided to use both logos on the poster to round up all the elements on the promotional products.


To add some depth I used the lines behind the headliners to draw secondary attention after the logos.


I felt the date and time were out of place above the F so I moved them inline with the other type. I think this works much better with the colours as well.

To finish the poster I have used a photo of the Wharehouse Club where Frankie Knuckles use to be a resident. I chose to use this because I like the angular lines it creates when rotated slightly.
Final Poster

Event Flyer
To work alongside the poster I am going to make a flyer. It will be A6 and double sided.

The design will be similar to the poster design so the audience can relate them with the same night.

I used a 2cm border on the poster so I am going to have a 1cm border on the flyer so I have a bit more room to play with.

I have kept the layout of the type the same apart from it spans up to both guides to utilise the space.

I had to reflect the image so the angle was directing the eye towards the top right then down.


To finish the design I mired the lines and used the black to invert the colours wight the heading colours.

Front/Back

Print Version

I have laid out the designs on A4 so I will get four flyers per sheet.
Production
Props


I have sourced a bottle and I am using some pre made coasters to stick the vinyl onto.


I haven't used vinyl before so it was a good experience to get familiar with how the machine works so I can use it in the future. I had a few problems with the orange design. The circles were two thin so the machine was shredding the vinyl so I had to offset the paths and delete some to widen the circles.

I wanted the the f to be white so I had to stick some paper underneath the black layer of vinyl.


To finish the coasters I had to transfer the orange vinyl. To make sure it was in the right place I had to use transfer paper.
Final Coasters

Im really pleased with the finals. I haven't used vinyl before so I'm glad I decided to use it, I will definitely use it again.
Stamp


The stamp I ordered arrived with my custom design. I would of liked the stamp to be a little bigger but the difference in price was more than I could afford. I am going to use vinyl to customise the stamp with the logo.


I used some of the coaster designs that were left over the customise the stamp.
Flyers

There were no problems with the flyers I just had to cut them to size.

The A3 posters didn't need cutting out and I had the event poster printed A2 as well
CD Wallets


Because I had to out source my printing it meant that the designs were printed with a white boarder around them so when I cut them out, it meant the dimensions were smaller so a CD wouldn't fit into them. If I had more time I would re-print them on A3 paper to avoid this happening. I am annoyed that this happened but its my own fault for leaving it so late to print.
Publication

Once I had cut out the pages the designs didn't line up as usual so I did my best to align they headings that bleed across the page and held it with a clip to bind. This happens every time I print something double sided, it never prints in place so the end result always suffers.


To bind the book I used a simple saddle stitch. Once i had trimmed the pages it turned out not too bad in the end.
Lager Bottle


I thought this would be more difficult than it was. It went ok really, I used transfer paper to apply the vinyl. I applied the orange first, then the black type. Because the bottle is dark I decided not the use the whole of the black vinyl. I adapted the design and used it on the F to link to the logo. I had to improvise with this but I am pleased With how it turned out.
Digital Development

Website


I have used the same information on the event posters on the website so it all ties together. I want the site to be very simple with information about the events that are available.


I want to use a large scrolling image in the centre of the page that will be on a continuos loop scrolling through the events that are on.


Because I have made Theo Parrish the headlines I have made his image in centre and slightly bigger with the bigger heading to make this clear. The heading were hard to read against the photos so I have used a black box with a low opacity to help with legibly.


For better navigation I have added the back and forward arrows to communicate how the site works.

To further improve navigation I have included a search bar on the top so the audience can search for specific events there are interesting in.
Linking Page

The idea is the the user will click on the images on the homepage to link to the following page.

I have followed the layout of the event poster so the audience can associate with the printed material.

I have included some information of the headliners, the price and where they can be purchased. I have made it so the tickets can only be purchased from crash records in leeds as this was how it used to be before the internet and makes in a bit more exclusive.
Homepage

Roll-Over Example

Linking Page


Twitter Page

Facebook Page

No comments:
Post a Comment